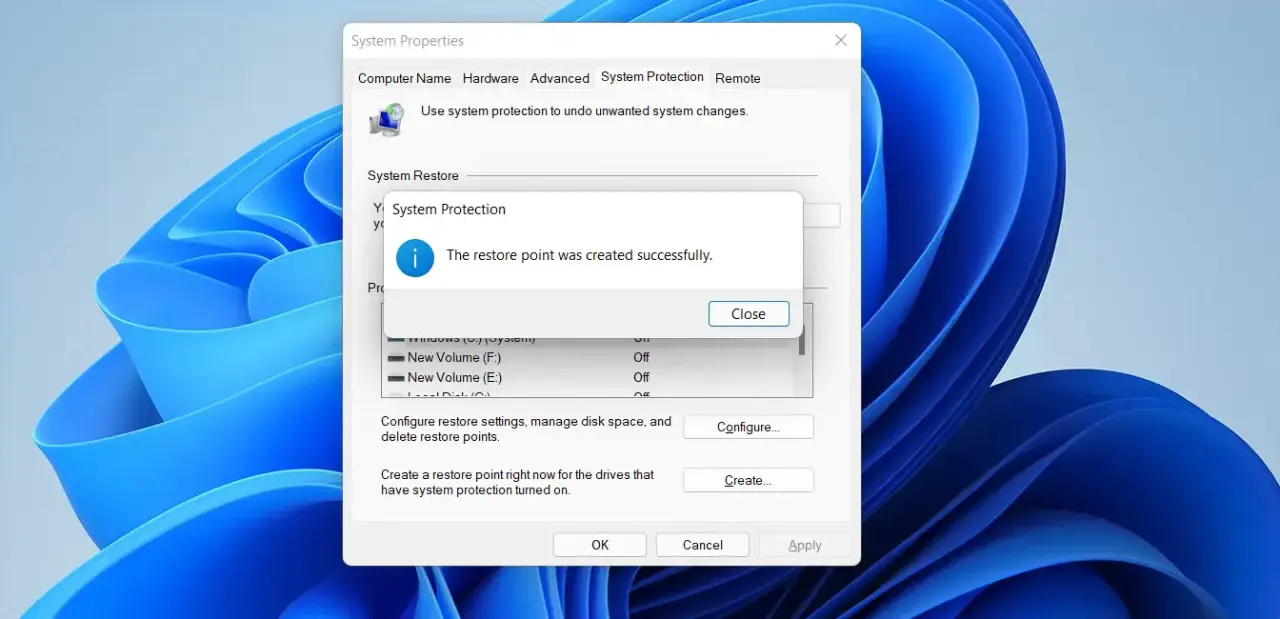
Creating a restore point is an essential step in protecting your system from potential problems. A restore point is a snapshot of your system at a particular point in time, allowing you to restore your system to that point if something goes wrong. In this article, we'll show you how to create a restore point in Windows 10/11 and answer some common questions about the process.
Should You Create a Restore Point in Windows?

Creating a restore point in Windows is a good idea for several reasons:
- Protection against system crashes: If your system crashes or becomes unstable, a restore point can help you recover your system to a previous stable state.
- Protection against malware: If your system is infected with malware, a restore point can help you remove the malware and restore your system to a clean state.
- Protection against software conflicts: If you install new software that conflicts with existing software, a restore point can help you remove the conflicting software and restore your system to a previous state.
Does a System Restore Affect My Personal Files and Programs?
No, using a restore point does not affect your personal files. However, it will uninstall any apps, hardware drivers, and system updates installed after the restore point was created. This also applies to any modifications you made at the system level, including system settings and other advanced modifications.
Similarly, any app or driver deleted after creating the restore point will be brought back. Some apps, however, may need a reinstall to work properly.
How to Enable Restore Points
System Restore isn't enabled by default. So you'll need to manually set up and configure it to create restore points for each partition/drive. To enable System Restore:
- Press Win + S to open Windows search.
- Type restore point and click on Create a restore point from the search results.
- In the System Properties window, open the System Protection tab.
- Under Protection Settings, check if Protection is set to On or Off.
- If it is set to Off, then click the Configure button.
- Choose Turn on System Protection under Restore Settings.
- Under Disk Space Usage, drag the slider to allocate the maximum disk space to save restore points.
- Click Apply and OK to save the changes.


Repeat the steps if you want to enable system restore for other available drives on your system. We recommend doing so if you install apps on a different drive other than the C:\ drive.
How to Create a Restore Point
You can create a restore point using the System Protection dialog. Here's how you can manually create a restore point
- Press the Win key, type System Restore, and click Create a Restore Point.
- Click the Create button.
- Type a description or name for the restore point and click Create. System Protection will start creating the restore point and display a success message if successful. It may take a few seconds, so wait till it is completed.
- Click Close.


By following these steps, you can create a restore point in Windows 10/11 and protect your system from potential problems. Remember to create a restore point regularly to ensure that you have a recent snapshot of your system.